This is a small summary of some new features in the latest A-Frame Inspector version that may have gone unnoticed by some.
Image assets dialog
v0.5.0 introduces an asset management window to import textures into your scene without having to manually type URLs.
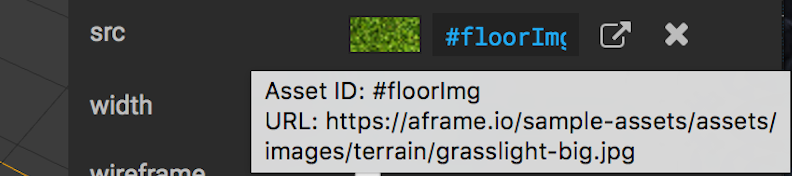
The updated texture widget includes the following elements:
- Preview thumbnail: It will open the image assets dialog.
- Input box: Hover the mouse over it to show the complete URL of the asset.
- Open in a new tab: It will open a new tab with the full-sized texture.
- Clear: It will clear the value of the attribute.
Once the image assets dialog is open, you’ll see a list of the images currently being used in your project, with the previous selection for the widget, if any, highlighted. You can click on any image from this gallery to set the value of the map attribute you’re editing.
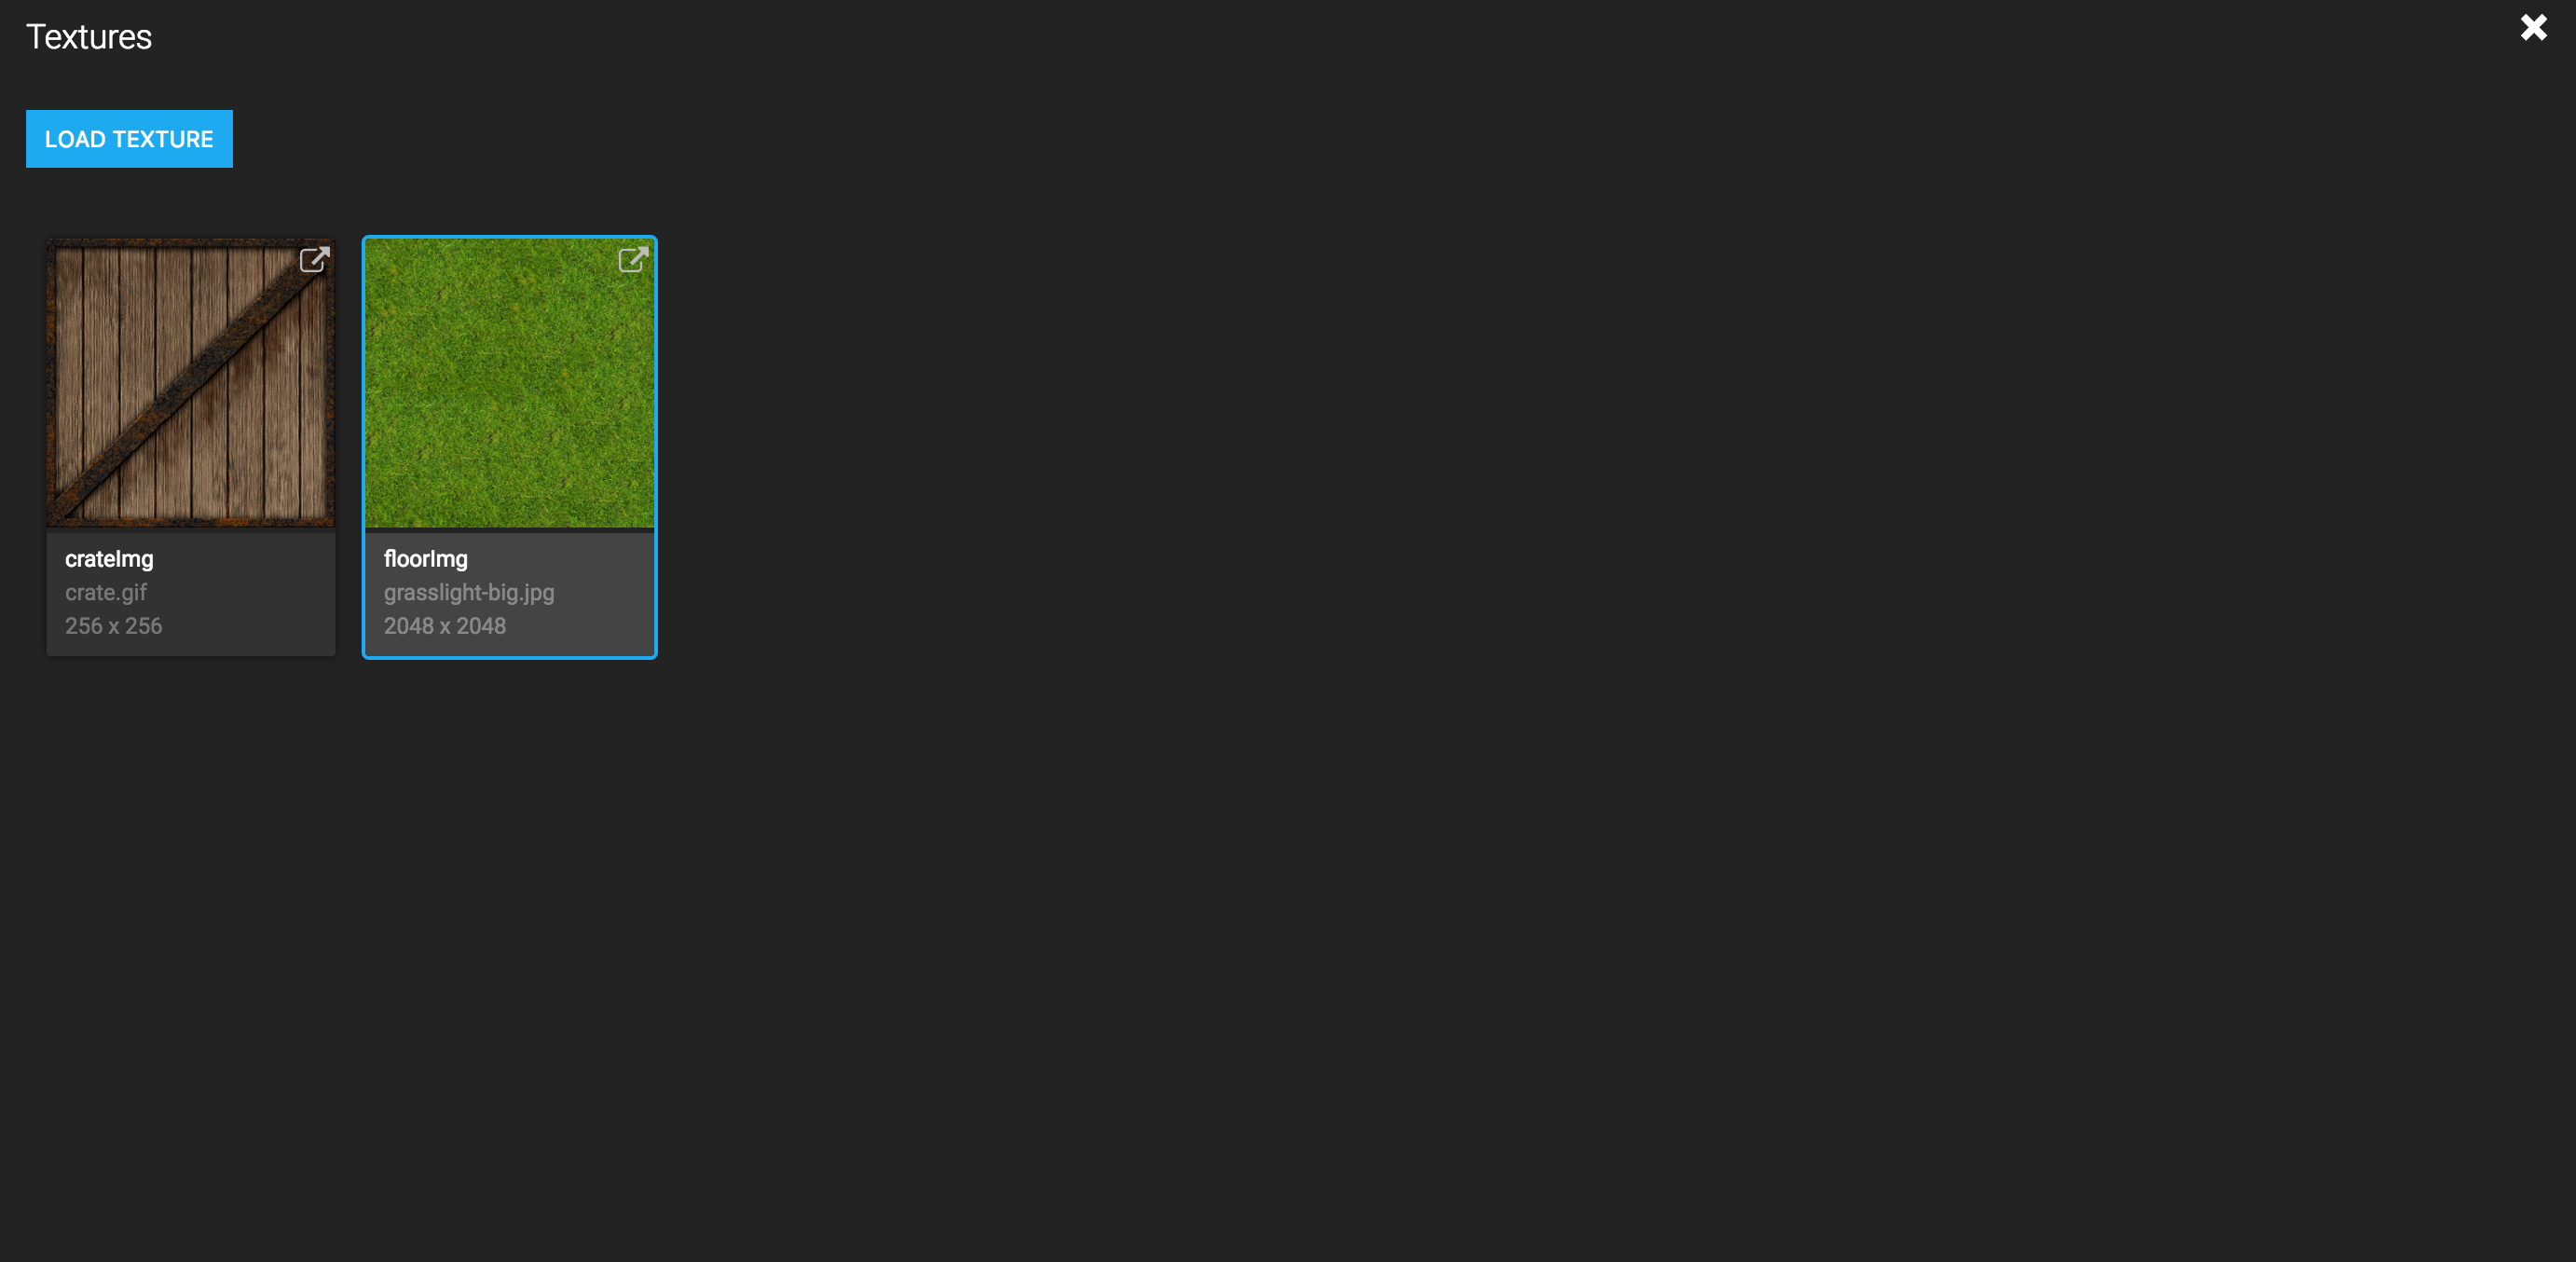
If you want to add new images to this list, click the LOAD TEXTURE button, and you’ll see several options to add a new image to your project:
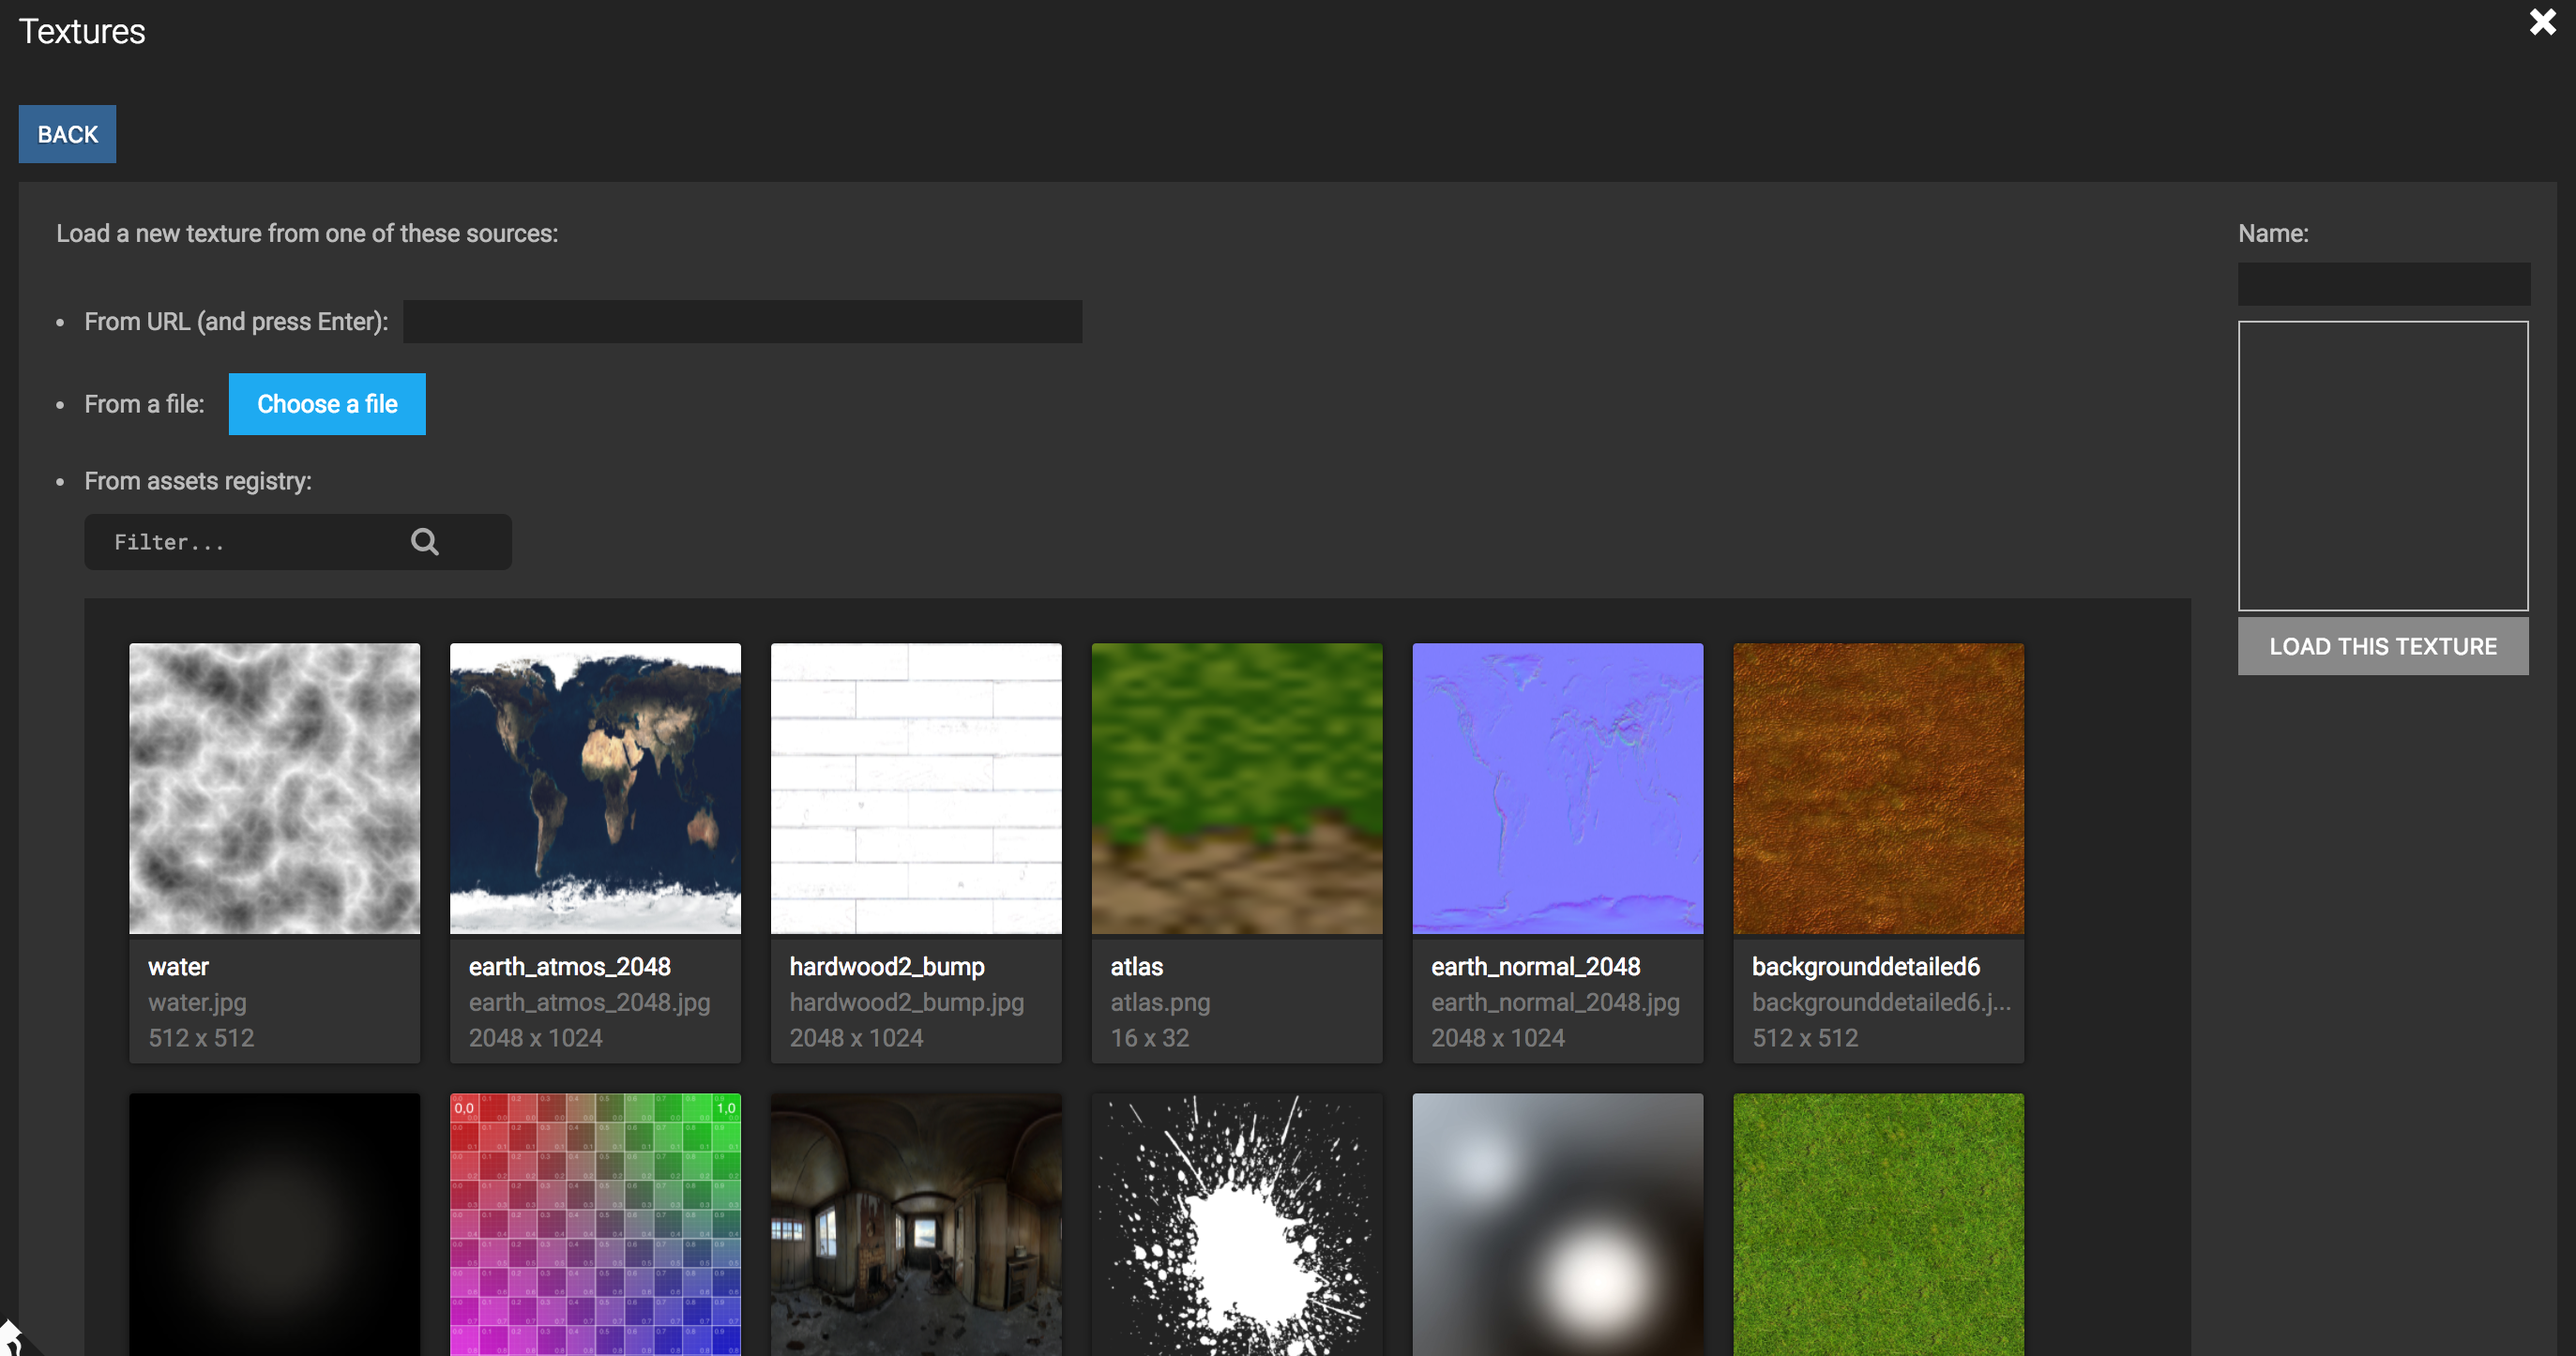
Here, you can add new image assets to your scene by:
- Entering an image by URL.
- Opening an Uploadcare dialog that will let you upload files from your computer, Google Drive, Dropbox, etc., and from other sources. (This is currently uploading the images to our Uploadcare account, so please be kind :); we’re working on letting you define your API key to use your own account.)
- Drag-and-dropping files from your computer. This will upload to Uploadcare too.
- Choosing a sample asset from the curated list of images we’ve included, which are populated from a GitHub repository for sample A-Frame assets,
sample-assets.
Once you've added your image, you’ll see a thumbnail showing some information about the image and the name that this texture will have in your project (the asset ID that can be referenced as #name).

After editing the name, if needed, click LOAD TEXTURE, and it will add your texture to the list of assets available in your project, showing you the list of textures you saw when you opened the dialog.

Now, just click on the newly created texture, and you’ll set the new value for the attribute you were editing.

New features in the scene graph
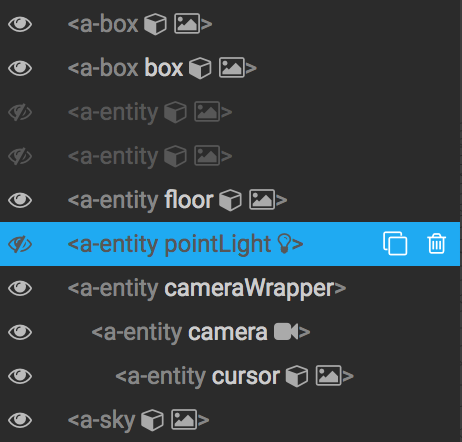
Toggle visibility
- Toggle panels: New shortcuts:
1: Toggle scene-graph panel2: Toggle components panelTAB: Toggle both panels- Toggle entity visibility: Toggling the visibility of each element in the scene is now possible by pressing the
eyeicon in the scene graph.
Broader scene-graph filtering
In the previous version of the Inspector, we could filter by the tag name of the entity or by its id. In the new version, the filter will also take into account the names of the components that each entity has and the values of the attributes of these components.
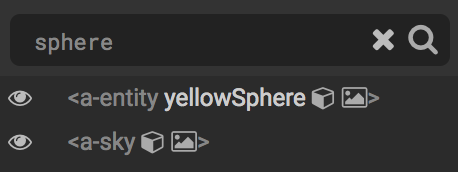
For example, if we enter red, it will return the entities whose name contains red, but also all of those with a red color in the material component. We can also filter by geometry, or directly by sphere, and so on.
We’ve added the keyboard shortcut Control/Command + f to set the focus on the filter input for faster filtering, and the Esc key clears the filter.
Cut, copy and paste
Thanks to @vershwal, it’s now possible to cut, copy, and paste entities using the expected shortcuts:
Control/Command + x: Cut selected entityControl/Command + c: Copy selected entityControl/Command + v: Paste the latest copied or cut entity
New shortcuts
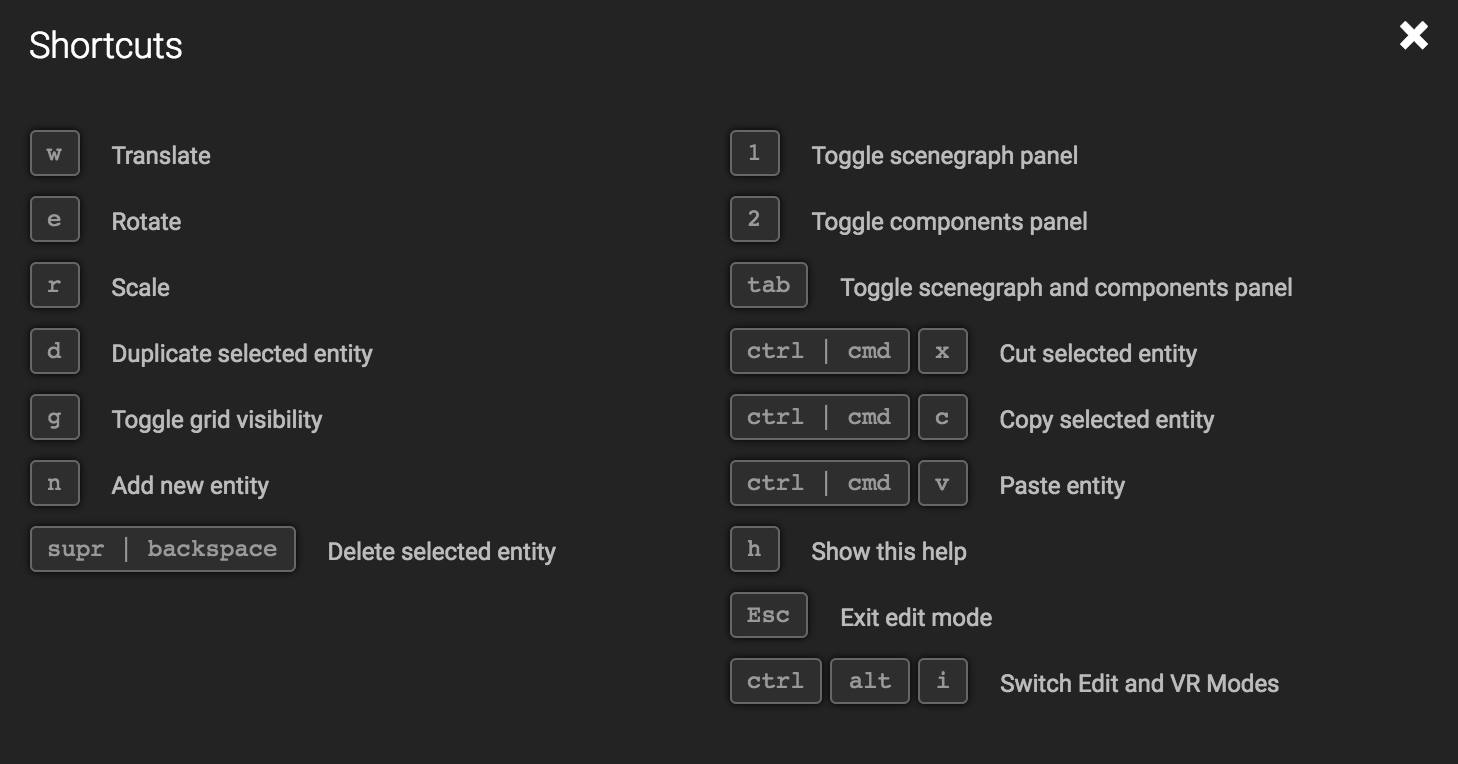
The list of new shortcuts introduced in this version:
1: Toggle scene-graph panel2: Toggle components panelTab: Toggle both scene-graph and components panelControl/Command + x: Cut selected entityControl/Command + c: Copy selected entityControl/Command + v: Paste a new entityControl/Command + f: Focus a scene-graph filter
Remember that you can press the h key to show the list of all available shortcuts: